At Best Home Preserving we love food and any way in which it can be processed for later use. Living on a homestead and growing and raising most of our own food, it breaks my heart to see any food go to waste. That is why I love preserving, and why I am going to teach you all about water bath canning.
Water bath canning is the easiest and simplest method for preserving food at home. The best part is that is doesn’t require any specialized preserving equipment – unless you want to get really technical!
This was the method that started my canning journey and created my passion. You don’t have to be a whiz in the kitchen to start making some simple jams and preserves in your own home.
Even if you really love canning, you may just learn some easy tips and tricks in this article. We can show you how to safely and easily make jam, pickles, jellies, fruit butter and chutney’s with highly acidic foods.
Processing preserves using the boiling water bath method ensures safe storage at room temperature for up to a year. Prolong this time indefinitely by keeping them in your refrigerator. Either way, once you have opened a jar of preserves, you will need to keep it in the refrigerator and use it within a few months.
Water bath canning is an effective way for all home cooks to extend the shelf life of food. It serves to be a valuable skill set if you are fond of making pickles, jams and jellies, or home preserving tomatoes and other high acid fruits.
Quick Content Navigation
What is Water Bath Canning?
It is a popular processing method utilized for canning highly acidic foods. When implemented properly, it allows you to preserve and store juices, fruits, jams, & pickles at room temperatures in your kitchen without spoilage.
Using the water bath canning method, canning jars are filled with processed or properly prepared foods and then sealed with a special canning lid.
The contents are then submerged in boiling or simmering water and processed for specified times depending on what you are preserving.
This process effectively pasteurizes both the contents and the jar.
Once the jars are removed from the water bath, the canning lid will seal itself upon the jar as they cool down. When this occurs, you will hear a popping sound, and this means you will know that the jar has sealed properly.
This airtight vacuum is vital for preserving food at home and allows the contents to be safely stored for longer periods –around 12 to 18 months.
If canning appears overwhelming to you, understand that the process of water bath canning is very simple and a great place to start. It is a seamless home preserving method and allows you to choose and follow tested canning recipes.
Foods that are Safe for Water Bath Canning?
The process of water bath canning is safe for highly acidic foods. These are ones who have a pH of less than 4.6.
These are:
- Apples
- Berries
- Cherries
- Citrus
- Peaches
- Plums
- Pickled vegetables
- Jelly
- Jam
- Salsa
Foods Not Recommended for Water Bath Canning
All low acid foods must be processed using the pressure canning method. This is because low acid foods require higher temperatures and longer processing time to kill all the bacteria and micro-organisms.
We did find some recipes that used the water bath canning method for foods that are less acidic, such as dairy products. However, with further research, our expert home preserving team found it is recommended to use water bath canning only for high acidic foods.
These foods are not recommended for water bath canning.
- Vegetables that are not pickled
- Meat
- Soup
- Poultry
- Dry beans
Water Bath Canning Equipment
Some essential supplies that are required for water bath canning.
It is important that you use jars that are approved for canning. These jars need to be capable of surviving high heat over a sustained period.
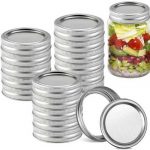
They should also feature the specialized 2-part canning lid. This may consist of either the glass lid with rubber ring, or the flat lid and band type.
Our experts agree that, when water bath canning, the two-part canning lids tend to be the safest best for repeat usage.
Rings in these lids can be used again & again without needing to be replaced. It must be noted however, that the lid itself, should only be used for a single time.
The rubber gasket in the lid is where the seal is created, and this will start to deteriorate with the heat from the water bath canning method.
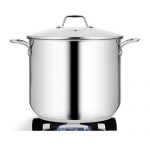
There is no requirement for a specialized pot when using the water bath canning method. All you need is a large saucepan or stockpot that is big enough to fully immerse your jars into. “Fully immerse” is the key phrase here.
When processing food using the water bath canning method, it is imperative that the jars be standing upright, and fully covered by the water. Try and make sure that there is enough space left in the pot so that the water doesn’t splash out once the pot is boiling.
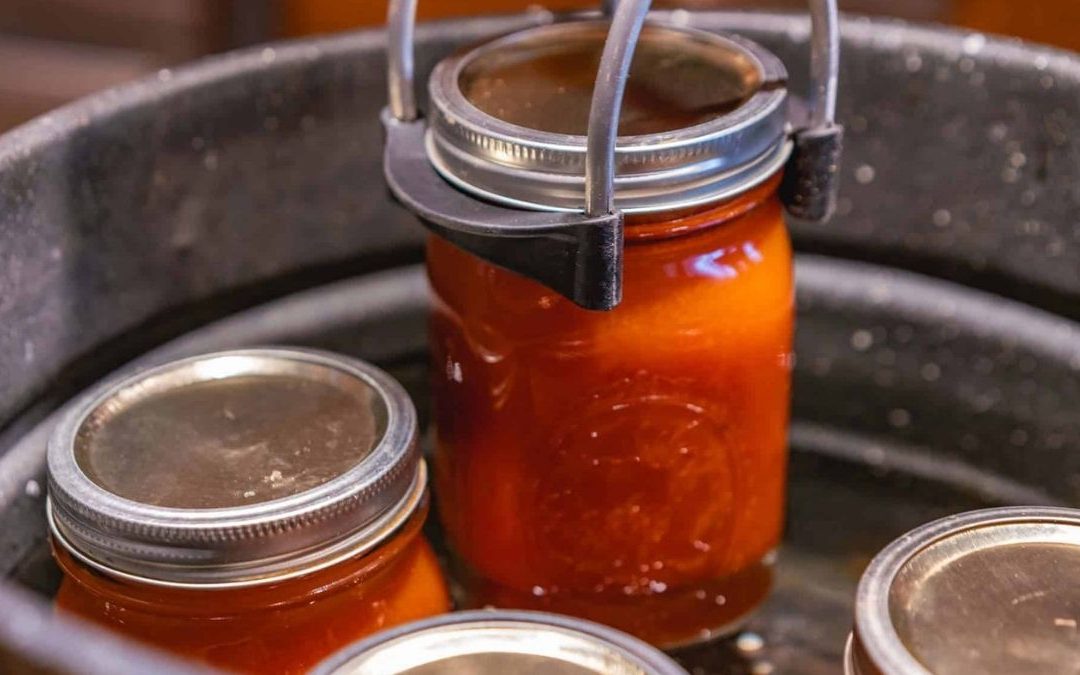
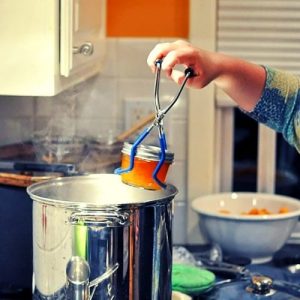
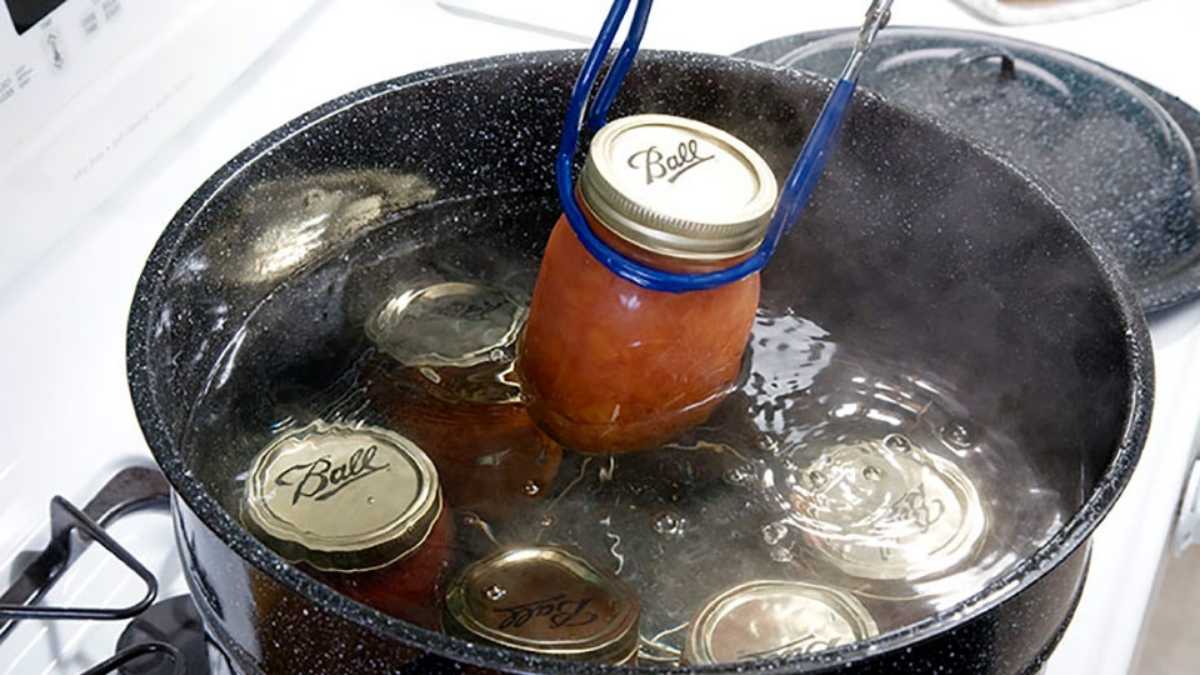
Also, you should make use of a jar lifter for getting the jars into & out of the boiling water safely.
When filling your canning jars, it is important that there is no food residue on the rim or lid as this will allow contaminants into the jar.
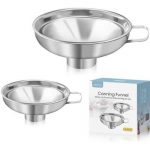
Either have a clean cloth on hand to wipe any spills, or, better yet, use a canning funnel when filling your canning jars.
Canning funnels can be either wide-mouthed for larger fruits and vegetables and express filling, or narrow-mouthed for liquids.
Step-by-Step Instructions for Water Bath Canning
Here are some easy steps you can follow for water bath canning:
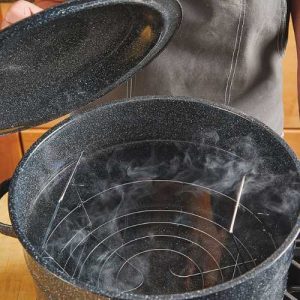
- Step 1. Position the canning rack on the bottom of your stockpot or water bath canner. A canning rack is a type of trivet that keeps the canning jars off the bottom of the pot and away from direct contact with the boiling heat of the pot.
- Step 2. Now, you can fill the canner so that the water is 1-2 inches above the top of the jars. We suggest half filling the canner with water and then adding the jars. Once you have all the jars in the pot, simply top up the water so that the jars are fully immersed and there is 1-2 inches of water over the lids.
- Step 3. Heat the water to the desired temperature. For foods that are raw-packed, you should have the temperature at about 140 Degrees F. In the case of hot-packed food items, the temperature should be around 180 Degree F. The temperature you process your canned food at ensures that the canning jars are not changing the temperatures too quickly. Doing this will result in thermal shock and crack your canning jars.
- Step 4. Once the water has reached its appropriate temperature, you can load the canning jars with whatever produce you are going to be preserving.
- Step 5. Tighten the rings of the canning lids, but do not over-tighten. They should be tight enough to hold the lids in place, while still allowing air to escape. This will help in creating a vacuum during and after the canning process.
- Step 6. Place the canning jars –with proper lid and ring fitting – into the canner. You should use a specialized jar lifter for ensuring maximum safety. This will prevent scalding due to splashing water. Therefore, you should load the canning jars one at a time.
- Step 7. It is also a great idea to use a canning rack to keep your jars from jiggling on the bottom of the pot when boiling. This prevents breakage and allows you to easily load and unload your canning jars into your water bath canner. Simply lift the whole rack, including jars, into and out of the pot and allow to cool. Use special tongs or clean oven mitts to prevent scalding.
- Step 8. Turn the heat to its highest setting while allowing the water to come to a full boil. Ensure that the water level remains consistent throughout the process. Therefore, add more boiling water if needed. The top of the canning jar should always be covered with at least one inch of water.
- Step 9. As the processing time is complete, turn off the heat and remove the lid from the canner. Allow the canning jars to sit in the still hot water for another 5 minutes.
- Step 10. Finally, either remove the whole canning rack, or lift the jars carefully with the help of a jar lifter. Allow the jars to cool for around 12-24 hours before storing for later use.
Conclusion
With water bath canning, you can easily fulfill aspirations of canning your favorite high acid food items. Ensure to follow the above steps to start enjoying yummy fruits and vegetables all year round.
The best part of using the water bath canning method, is that you don’t need any specialized home preserving equipment.
For more canning tips and techniques, follow the links below:
Pressure Canning Vs Water Bath Canning – Which is Better?
 Hi! I’m Sally-Anne!
Spot on with this write-up, I truly believe this amazing site needs a lot
more attention. I’ll probably be returning to see more, thanks
for the information!
I have been exploring for a little for any high quality articles
or weblog posts on this kind of space . Exploring in Yahoo
I at last stumbled upon this web site. Studying this information So
i’m happy to show that I have an incredibly excellent uncanny feeling I discovered just what I needed.
I such a lot indubitably will make certain to don?t forget this website
and give it a glance on a continuing basis.
Thanks very nice blog!
Great post.
There is definately a great deal to know about this
topic. I love all of the points you have made.
Hi there! Do you use Twitter? I’d like to follow you if
that would be ok. I’m definitely enjoying your blog and look forward to new posts.
Hi Charley, yes we are on Twitter @BestPreserving
Excellent article! We are linking to this particularly great article on our site.
Keep up the great writing.
Great post.
My brother suggested I might like this blog. He was totally right.
This post actually made my day. You can not imagine
just how much time I had spent for this info! Thanks!
This is very interesting, You are a very skilled blogger.
I’ve joined your feed and look forward to seeking more of your great post.
Also, I have shared your web site in my social networks!
Great info. Lucky me I ran across your website by chance (stumbleupon).
I’ve book-marked it for later!
I got good info from your blog
I’ve recently started a blog, the info you provide on this site has helped me tremendously. Thanks for all of your time & work.
Very interesting subject , appreciate it for putting up.
so much fantastic information on here, : D.
I have not checked in here for a while because I thought it was getting boring, but the last few posts are great quality so I guess I’ll add you back to my everyday bloglist. You deserve it my friend 🙂
Some times its a pain in the ass to read what blog owners wrote but this website is very user friendly! .
After all, what a great site and informative posts, I will upload inbound link – bookmark this web site? Regards, Reader.
Great post.amazing.
great job, thanks for sharing