One of the most popular questions when it comes to preserving soups is, “What is the best way for vacuum sealing soup?” Many people believe refrigerating and freezing soup is the only option they have. This is because these are the most popular ways when it comes to preserving liquid foods.
The problem with storing soup in the refrigerator is the time frame for keeping soups fresh is only a day or 2. If you pour it into plastic containers and freeze it you will extend the lifespan to a few months. After that, your soups’ taste may be affected by freezer burn.
Of course, commercial operations use tin cans and can seamers to store soup. They also remove most of the moisture from soups before canning to ensure longer life. However, we know that most home preserving enthusiasts don’t have access to a can seamer as they can be expensive.
In the process of preserving soups and other liquids, various methods of vacuum sealing have been found. You can choose the one that works best for you.
Let’s look at the basic steps of vacuum sealing soup. Then we will dive into the other various methods, tips, and shortcuts to achieve outstanding results.
Quick Content Navigation
Basic Method Of Vacuum Sealing Soup
In order to vacuum seal any soup, it is important that you first own a vacuum sealing machine. Using the steps we will outline below, you don’t need a top-of-the-line chamber vacuum sealer such as the VacMaster VP210.
While they are an amazing vacuum sealer and will safely seal any liquid, they are quite expensive. In fact, you will often find them in commercial kitchens.
Read on to find how you can use any vacuum sealer to quickly and easily set about vacuum sealing soup.
STEP 1:
After cooking the soup, you will need to freeze it until it is completely solid. This process is carried out so that the liquid will not spill out during the vacuum process. Any liquid or debris between the vacuum bag layers will result in an improper or failed seal and your food will spoil.
We suggest using flatter containers to freeze the soup as this makes for easier insertion into bags. High containers and round containers are really not ideal for this process. Also, flatter bags make for easier storage when vacuum sealing soup.
STEP 2:
After freezing, you have 2 options. Simply remove the frozen soup and vacuum seal immediately.
Or, chop the solid soup into chunks and add them to the vacuum bag. Of course, the number of bags required will greatly depend on the volume of soup you are wanting to preserve.
Make sure to leave enough space between the soup and the top of the bag to allow for it to be properly sealed.
Liquids, including soup, will freeze in whatever shape your container is, but breaking it into pieces will make it easier to pack. It should also make it simpler to stack in your freezer.
STEP 3:
Now it’s time to actually seal your bags. Have your vacuum sealing machine ready and the bags to be processed packed. You can’t allow the frozen soup to begin to thaw as some of the liquid may be sucked between the layers.
It is helpful to have a couple of people on hand for this part of the process to ensure things run smoothly. One can be packing the vacuum bags while the other is vacuum sealing soup ready to put back in the freezer.
Most modern home vacuum sealers will suck the air out of the bag and then automatically seal. However, there are still some that will require you to manually switch from vacuum mode to seal mode.
STEP 4:
This step has more to do with enjoying the delicious taste of your perfectly preserved soup. Whenever you are time-poor and hungry, remove the bag from the freezer and microwave it or heat the contents on a stove. YUMMY!
The Freezing Method Of Vaccum Sealing Soup
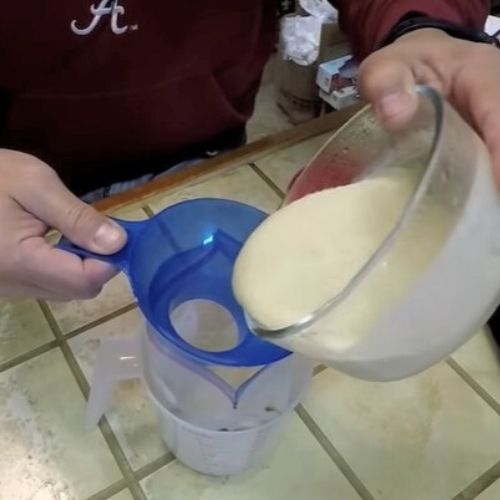
This method is faster and easier and it cuts out some of the steps above. Here you simply pour the desired amount of soup into a vacuum bag and place it in the freezer.
Once it is completely solid just vacuum seal the bag as usual and return it to the freezer. There is no need to break it into chunks before vacuum sealing soup this way.
However, this method will likely take more space in your freezer but that depends on how you freeze it.
You will most likely have to stand the vacuum bag in a container to avoid the soup spilling out. Once it has partially frozen, we suggest you then try to flatten the contents within the bag.
Put it back in the freezer with the open end slightly elevated. Once fully frozen, process as normal.

Ice/Tray Muffin Method
This method is slightly related to the first one but it removes the need for chopping your soup into chunks once it is frozen. One thing we like about this method is that it gives your soup a beautiful look when it is frozen in a cube or muffin shape.
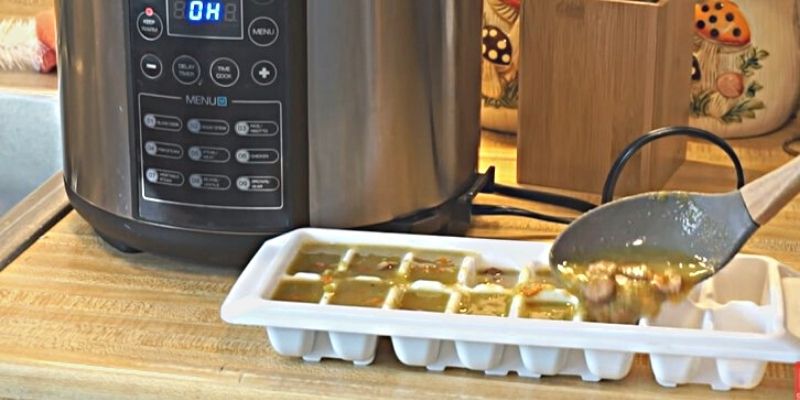
To accomplish this method, pour the soup into a regular ice cube or muffin tray and place them in the freezer. Silicone trays are ideal for this as the frozen blocks are easy to remove.
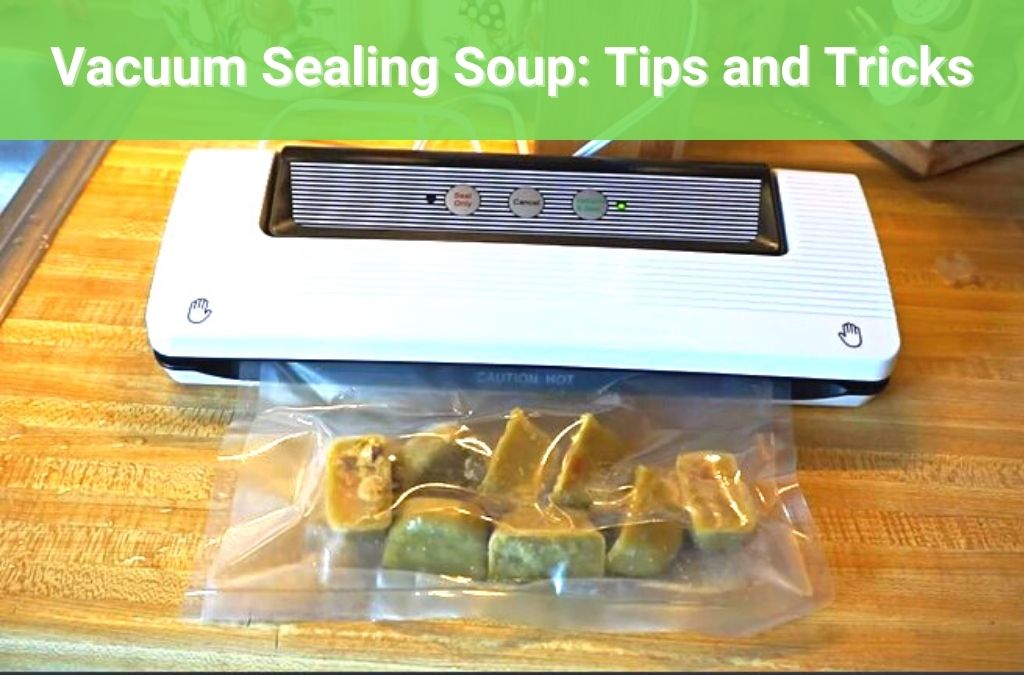
Place the frozen cubes/blocks into vacuum bags and seal. This is a very easy method for vacuum sealing soup.

Benefits Of Vacuum Sealing Soup
Improves Taste
Vacuum sealing soup allows you the chance to marinate your liquid food especially when it has chunks of beef or chicken. It gives the food an additional taste boost.
Maintains Freshness
Unlike regular freezing of food, vacuum sealing removes the air from the soup and restricts air exposure. This allows for longer preservation and better protection from freezer burn.
The combination of low temperature and the lack of air makes it impossible for fungus, bacteria, or other molds to grow.
Increases Space
When soups are vacuum sealed, the package size is much smaller. This makes it easier for them to be packed and allows you to store more food in the freezer.
Reduces Waste
Any leftovers can be easily packed and preserved. Not only does this maintain the taste of your freshly made soup, but you can also enjoy it at any time. No more throwing leftovers away.
This works for other meals as well but is terrific for vacuum sealing soup.
Also, buying food in bulk saves money and you can make a double batch that should last many months. Buy produce that is in the season to save even more money.
Lack of Chemical Preservation
There is no need for chemical preservation since your soup will be sealed in an air-tight pack. Add only what you need to enhance the flavor and use our easy method to vacuum seal soup. Keep the family healthy with nutritious, additive-free home cooking.
Helpful Tips When Vacuum Sealing Soup At Home
1. Always freeze your soup before sealing. Different methods have been listed above on how to perfectly achieve this. These range from freezing and chopping to using ice cubes or muffin trays or freezing larger portions. Choose which method you feel is more convenient for you.
2. Make sure there is no air in the vacuum bag before sealing. Achieving an air-tight status for your packages will give your soup a greatly increased shelf life or freezer life in this case.
Conclusion
Vacuum sealing soup can be quick and easy if you follow our simple methods above. Using one of these methods will allow you to store soup in the freezer for at least a year. Simply freezing soup in a regular container without vacuum sealing will only give it a lifespan of a few months.
Home-made soups are winter staples and deliver loads of hearty nutrition. When you use vacuum sealing for soup, you can have this deliciousness any time of the year without slaving over a hot stove.
If you need the best sealing bags and food sealer machines for vacuum sealing soup, check out our articles on the links below.
Vacuum Sealing Liquids Is Quick & Easy With These Sealers
Vacuum Sealer Bags – All You Need To Know For Great Results


 Hi! I’m Sally-Anne!