In our modern times, one of the best options available for food preservation is vacuum sealing mason jars. Whether you are new to preserving food at home or an expert, this relatively new technique is a revelation.
As we wake each day, the world shifts towards new dimensions, even the kitchen is not left behind. Appliances are now available that perform roles traditionally executed by humans. Just look at the Thermomix revolution to see how easy things can be in the kitchen.
Vacuum sealing appliances can play an important role in home food preserving and food storage. Vacuum sealers will seal food in jars, canisters or bags for storing, meal prep and marinating. Canning has traditionally been the most common food preservation technique, however, vacuum sealing now provides more options.
It has become a favorite with many home preservers because of its versatility and ease of use.
If you’re just learning the art of vacuum sealing, and particluarly mason jars, we are here to help. This article covers advantages, a comprehensive guide plus tips and tricks to vacuum sealing mason jars.
Quick Content Navigation
Advantages of Vacuum Sealing Mason Jars
There are many advantages of vacuum sealing mason jars over just using them for traditional storage solutions.
Here are the top 7.
1. Save Time by Vacuum Sealing Mason Jars
Having to spend hours in the kitchen storing foods that may only last a week or 2 is draining. It takes a toll on both your energy level and time.
To save you the hassle of cooking and preparing food at times that are not convenient, use vacuum sealing mason jars.
This method will preserve your food and make it last longer by removing all the oxygen from the jars. Quickly and easily safely store food by vacuum sealing your mason jars.
2. Reduce Food Costs
Vacuum sealing foods in mason jars can save you money by eliminating food spoilage. This also works by allowing you to buy in bulk and storing items in an air-free environment.
Further extend the lifespan of these items by storing them in a cellar. The lack of heat and light discourages any bacterial or fungal growth. In fact, mason jars that have been vacuum-sealed can be safely stored in a refrigerator or freezer for years if processed properly.
3. Protect Your Food
When air comes in contact with food, it encourages bacterial and fungal growth. This is because these micro-organisms require oxygen to populate.
Vacuum sealing leftover food is the best way to protect it from perishing. Modern vacuum sealers allow you to use traditional bags, but also, with nifty attachments, you can use canisters and mason jars.
Depending on the type of food you are wanting to store or preserve, mason jars can allow an easier option.
4. Preserve Your Food by Vacuum Sealing Mason Jars
A vacuum sealer preserves food by keeping it away from contact with oxygen. You can vacuum seal fresh or dried food, and store it for many months or even years if sealed properly – not fresh food!
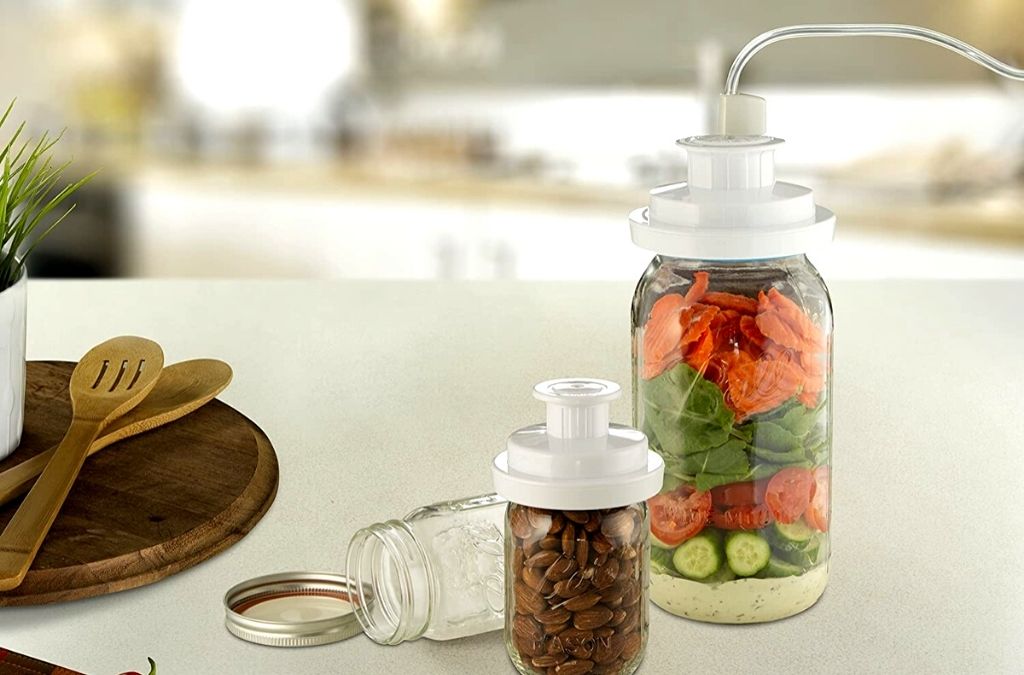
When vacuum sealing mason jars, they are the perfect option for meal prep for the week. Simply load the jar with fresh produce from your garden and some prepared quinoa for delicious salads each day.
If you were to just do this in regular containers, your lettuce and tomatoes would be limp and soggy by Friday. However, if you use mason jars and vacuum seal them, they will still be fresh and crisp by weeks end.
5. Food Storage and Organization
Keep your food fresh and handy for when you need it. Storing food in vacuum sealed bags will preserve them well, however, it makes things hard to find in the pantry.
This is where vacuum sealing mason jars is perfect for any household. They are easily stackable and come in a variety of sizes and styles.
Make sure you label the jars, particularly when storing dried foods. Believe me, sweet peppers look exactly like hot peppers when dried and stored!
6. Have Fresh Seasonal Produce All Year
Do you love the taste of fresh zucchinis in the summer and wish you could do the same all year? If so, then read on.
The best way to preserve your home-grown zucchini, carrots or peppers is by vacuum sealing them in mason jars. Of course, you have to dehydrate them first and the best way to do this is in a home food dehydrator.
However, once dehydrated and packed into mason jars, simply use your vacuum sealer. These delicious and nutritious vegetables, or fruits, can be used all year.
7. Store Liquids
Not all preservation methods can store liquids, but vacuum sealing can. We have an earlier article on exactly this topic – Vacuum Sealing Liquids Is Quick And Easy With These Vacuum Sealers
Can you vacuum seal regular bottles? Yes, but they must be glass and have metal lids with rubber seals. You can’t re-use plastic jars, or jars with plastic lids!
In fact, the best way is to preserve your liquids in mason jars and seal them with a vacuum sealer.
A Step-by-Step Guide on Vacuum Sealing Mason Jars
There are a lot of questions on exactly how you go about safely vacuum sealing your mason jars.
You should know that the trick is the process that you are following.
To successfully vacuum seal mason jars, there are certain steps that you need to follow.
Here is a simple four-step guide on vacuum sealing mason jars.
Step 1. Preparation
Preparation begins by cleaning and sterilizing your mason jars and preparing the contents.
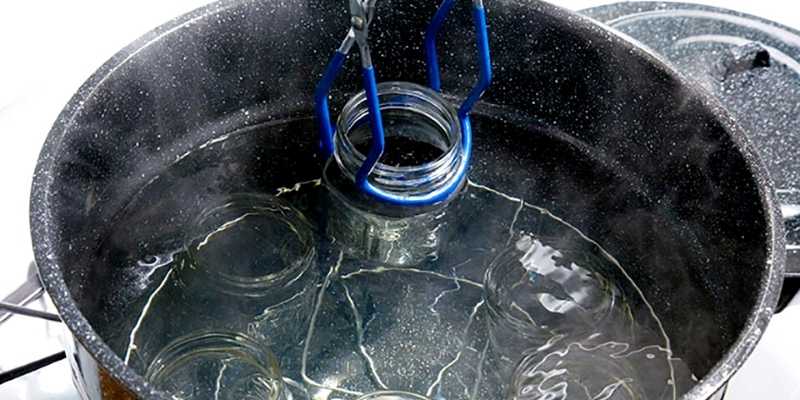
You can re-use mason jars, but even if brand new, sterilize jars by boiling in hot water for about 10 minutes. Don’t forget to process the lids as well!
Once cooled, pack the jars and close the lid.
Step 2. Connecting a Jar-Sealing Attachment
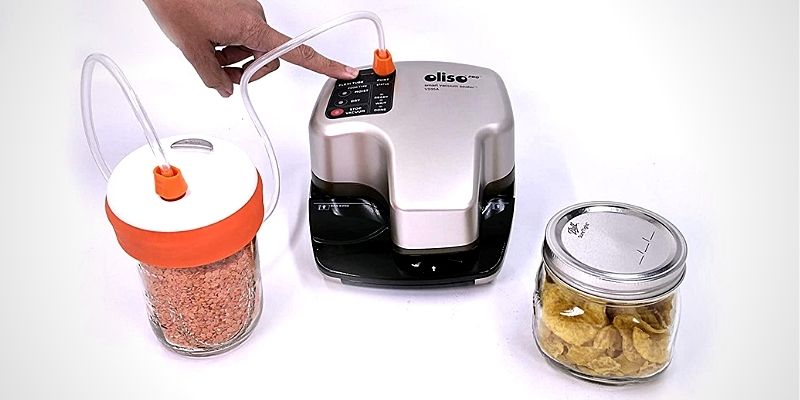
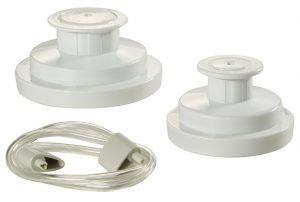
Vacuum sealing a mason jar requires you have a specialised jar sealer attachment .
Firstly, add the lid to your jar, but not the ring. You will add the ring after the sealing process is complete!
Place the jar sealer attachment on top of the flat lid. Jar sealer attachments come in 2 types. There is regular mason jar attachment and a wide-mouth mason jar attachment.
The best jar sealer attachment packages come with both of these.
Step 3. Adding Air Extraction Hose
Once you have the attachment on the jar, the next step is to connect the air extraction hose.
The hose connects to the jar sealer attachment on one end and the vacuum sealer at the other end. There is a dedicated hose attachment on most vacuum sealers on the market.
Step 4. Sealing the Jar
After all the steps above, seal the jar by pressing the vac/seal button on your vacuum sealer.
The unit will automatically shut-off once all the air is removed.
Remember, perishables will still need to be stored in the fridge or freezer.
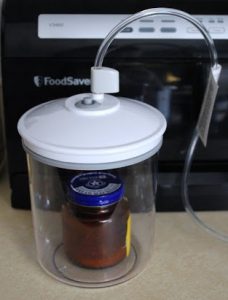
Another method for vacuum sealing mason jars is to use a vacuum canister and an accessory port. This also works for re-using regular glass jars.
We found most modern vacuum sealing machines have an accessory port and you can buy a vacuum hose attachment.
- Fill your jar/s.
- Add the lid and loosely screw on the outer band.
- Put the jar in the canister and add the lid.
- Connect the vacuum hose to the canister and accessory port.
- Turn the dial on the canister lid to ‘seal’.
- Press the start button on your vacuum sealer and let it run through its process.
- Once done, remove the jar and tighten the outer ring.
Tips and Tricks to Vacuum Sealing Mason Jars
- The whole idea of vacuum sealing rests on removing air from food. If you have difficulties with your vacuum sealer, do not panic. You can use an oxygen absorber and a handheld pump to remove air from the mason jar providing a vacuum seal.
- Get both a wide-mouth and regular-sized jar sealer. Having both will help in case you need to seal jars of varying sizes. Your vacuum sealer may come with one, and you can buy the other.
- If you find difficulties vacuum sealing mason jars, a trick that works is to use both regular-sized and a wide-mouth jar sealer. Place one on top of the other, then connect the hose attachment to the vacuum sealer. By doing this, the regular-sized jar sealer will seal the lid while the wide-mouth one keeps it in place. You can then remove the latter one and let the former do its job.
- You can use vacuum sealers in place of pressure canners if you want to preserve your food in a canning jar. However, you will have to store it in the freezer or fridge.
Wrap Up
Hopefully you now know it is very easy to undertake the process of vacuum sealing mason jars.
Not only that, we have given you a step-by-step guide plus helpful tips and tricks!
Enjoy preserving food at home through this simple process and enjoy the advantages of vacuum sealing mason jars. Save time and money, organize your food storage, preserve and protect your food and have fresh seasonal produce all year round.
If you enjoyed this article, leave us a comment below.
Do you love eating tender smoky flavored barbeque? Want to learn how to bring your barbeque and smoked meat to the next level? Follow the links below for some terrific information.

 Hi! I’m Sally-Anne!
Precisely what I was searching for, appreciate it for putting up.
I have used mason jars for years with my FoodSaver. I don’t understand why so many are having issues. I hope you can figure it out because this an awesome way to save money and products! Make sure you press the white sealer all the way down!
Not so much a comment as a question, if I were using a handheld pump, what would the effective pressure range be for a typical mason style jar? I’ve tried this method using a couple of different sealers, one had a 40 cfm and the other an 80 cfm pump, and the seals provided yielded a noticeably different “pop” when opening. So, I reasoned that given a number and manual control, I could better achieve a standardish level of vacuum that would prove most effective.
Hi and thanks for your question. The simple answer here is that it will vary depending on the type of jar you are sealing, what is being sealed and the sealer itself. The goal with vacuum sealing anything is to remove all the air within the container. To that end, the capacity of the sealer does not matter, only the time taken to remove all air. Also, be aware that the “pop” you hear will also vary if the lid you use has been used previously.