As the harvesting season approaches, it is important to get your canning essentials ready, and this means you to check and sterilize canning jars. Pull those dusty boxes of jars out of storage and give them a good “once over”. Check for any cracks in the glass and make sure the lids are rust-free. Most importantly, check that the rubber seals have not corroded in any way.
Ensure that you have access to all the right ingredients, equipment, and knowledge about the best home preserving methods to achieve the desired results. While you might be all excited about canning your favorite veggies and fruits, one important aspect is to sterilize canning jars before you begin the canning process.
In this post, let us help you unravel how you should sterilize the canning jars to obtain the best results out of your canning efforts.
When you work with sterile canning equipment, you eliminate the overall risk of molds or bacteria growing on your produce after the process of canning. Sterilizing the canning jars is a vital and crucial step in the process of canning. At the same time, it is a simple process to achieve.
Let us explain the process of sterilizing canning jars in detail.
Quick Content Navigation
Importance of Sterilizing Canning Jars
Sterilizing is always an important step when it comes to any food preparation or preserving. Any unclean surface or utensil has the potential to introduce pathogens to any food you are preparing.
Sterilizing canning jars before you use them removes all bacteria, fungi and yeast. This means that when you use them to can food, your produce will remain fresh for the longest time possible.
It is crucial that you sterilize the canning jars, lids or seals and bottles a short time before filling them. This means they are warm for the filling process and will not crack when hot contents are added.
Is Sterilizing Canning Jars Necessary
There is a school of thought that sterilizing canning jars might not be necessary when you are going to process in a water-bath or pressure canner.
The idea here is that as long as the processing time tends to be over 10 minutes (which it usually is), the high temperature will eliminate all bacteria.
The belief is that processing for over 10 minutes will sterilize both the jar as well as its contents.
We believe that the risk of not sterilizing canning jars before you use them is one that is not worth taking. Imagine going through all the preparation making jam or chutney or preparing vegetables for pickling, only to find them spoil within weeks because of jars that weren’t cleaned properly.
For best safety practices, thoroughly check all your home preserving equipment, including canning jars and lids before you start preserving food at home. The motto of “Better to be safe than sorry” certainly applies here!
How to Sterilize Canning Jars?
The best way to sterilize canning jars, or any equipment, is by subjecting them to high temperatures.
How long do you need to do this? A leading study states that you should subject the canning jars or other equipment to high heat for around 10 minutes at the very least.
For a canning system to remain safe from bacteria and microbes, canning lids and canning jars should be sterilized properly. This means heating jars in either boiling water, the oven, or the microwave for a minimum of 10 minutes. Some suggest that 15 minutes is more appropriate.
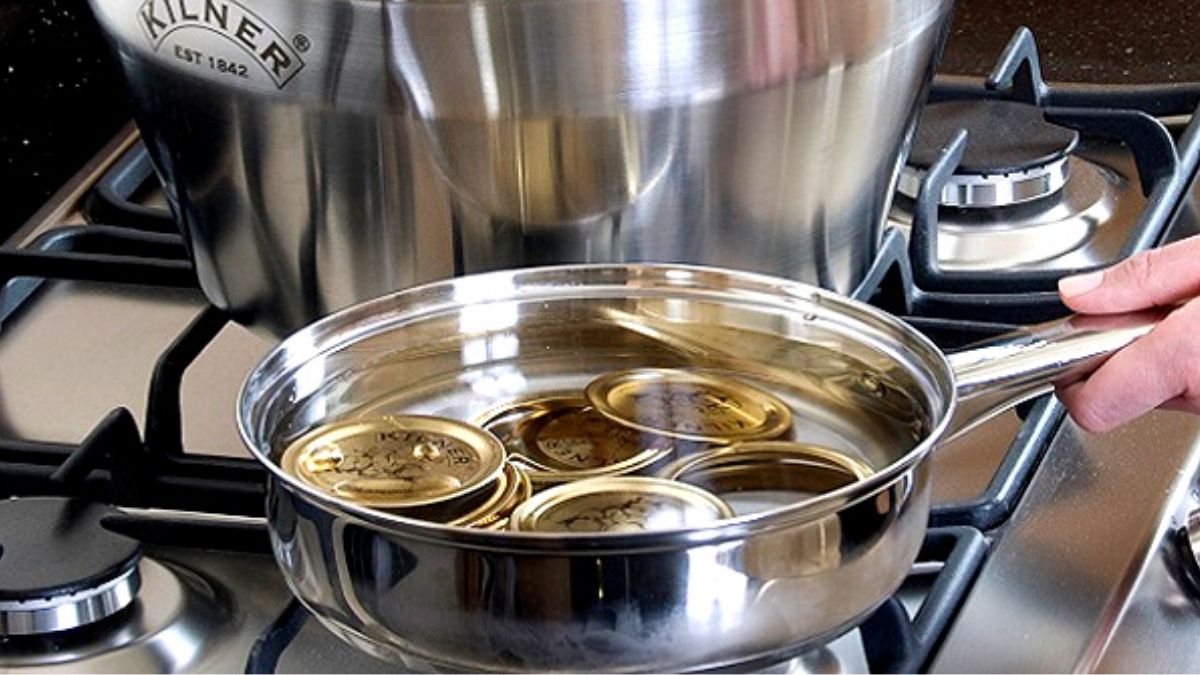
Lids and rubber rings for sealing should be boiled in a clean saucepan for at least 10 minutes before using.
Care must be taken once sterilization has been done to not introduce contaminants back to the equipment once processed. Towels and clothes should be clean and fresh when handling the sterilized cleaning jars and equipment. Any tongs and jar lifters, lid wands, and bubble removers should also have been sterilized before using.
Process 1: Sterilize Canning Jars in the Oven
With this method, you should only aim to sterilize the canning jars. The canning rings or lids will need to be processed separately in a saucepan of boiling water.
Follow these easy steps.
- Preheat the oven to around 220 Degree F/180 Degrees C
- Place the clean canning jars upon an oven tray
- Put the oven tray into the preheated oven for around 10 – 15 minutes
- Once done, remove the glass canning jars – take care as they are VERY hot
- Allow the jars to cool down on the oven tray itself, OR place them on a clean towel to cool
While the canning jars are in the oven, you can sterilize the canning lids or rings using the hot water-bath method.
Process 2: The Water-bath Sterilizing Technique
You can easily sterilize the canning jars by using the hot water-bath technique.
Some of the essential steps to follow are:
- Wash the canning jars in a bowl of warm, soapy water
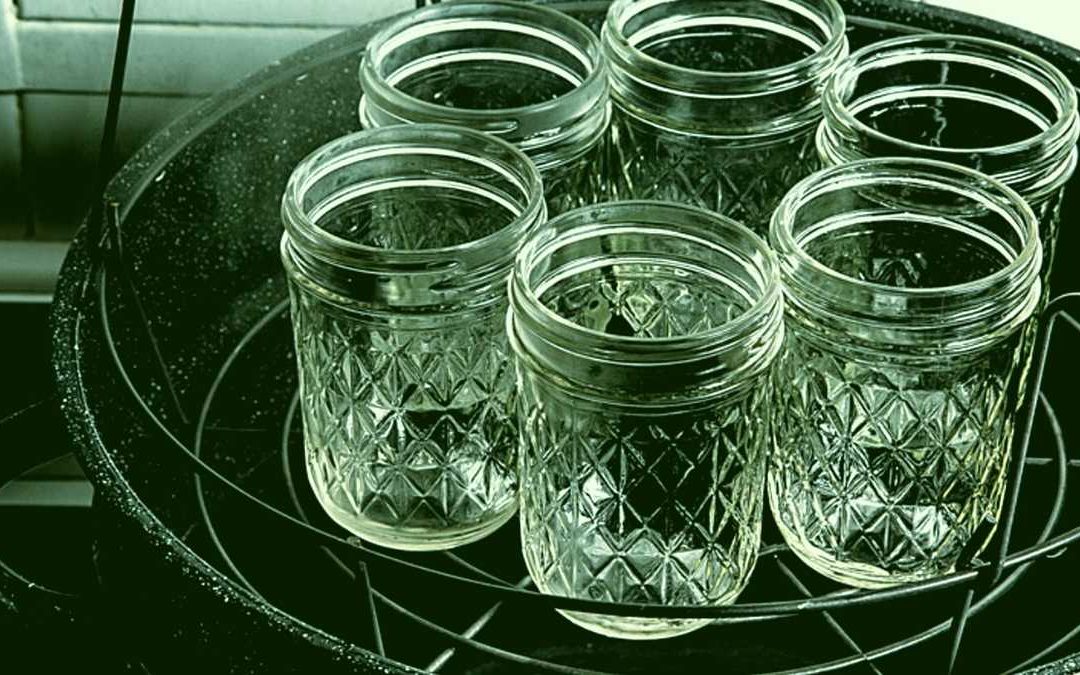
- Place the canning jars into a water bath canner or a large-sized pot
- Ensure the jars are on a canning rack or place foil in the bottom of the pot to reduce “jiggling of the jars” and potential breakage
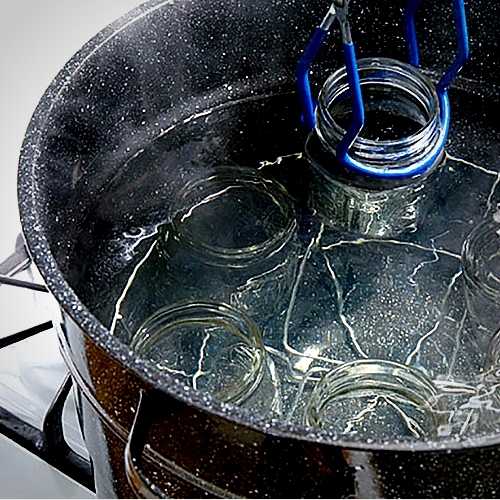
- Pour hot water into the pot until the jars are completely submerged
- All the jars should be filled with hot water
- Turn on your gas or stovetop
- Allow the water in the pot or canner to come to a boil
- Boil for at least 10 minutes – even though the video says 5 minutes, best practice now believes that 10-15 minutes is safest. Note –in higher altitudes, add 1 minute extra for every 1,000 feet of elevation.
- Once the time is up, use tongs or a jar lifter to remove the sterile canning jars
- Carefully drain the jars completely by tilting the hot water out
- Leave the jars to cool slightly on a clean cloth or canning towel
Process 3: You Can Sterilize Canning Jars In The Microwave
If you wish to use a microwave for sterilizing your canning jars, here are the steps to follow:
- Thoroughly rinse the jars to ensure they are clean – do not dry
- Stand the jars in the microwave
- Program for 1 minute at 1,000 watt
- Use longer time for lower wattage microwaves
- Remove the jars from the microwave with proper caution using jar lifters, tongs, or clean oven mitts
- Lids and rings must be boiled on the stovetop for a minimum of 10 minutes
Cleaning the Canning Rings and Lids
You should try and thoroughly clean canning lids and rings before storage as any food left on them may cause them to deteriorate. Once you have checked that there is no rust on the lids and that the rubber seals are still intact, you can carefully sterilize them before using them.
Care needs to be taken if boiling the canning lids or rings because, under the effect of boiling water, the rubber seals could melt and break down. This would result in a broken seal for your canning equipment.
As per the experts, it is recommended that you can place the rings or lids into a simmering water pot – not boiling. Leave them to simmer for around 10 minutes for thorough cleaning.

Conclusion
We all want the best results possible when we take the time to can food at home. Our experts believe that one of the best ways to do this is to ensure that you properly sterilize canning jars before you use them. We also recommended to follow the instructions from manufacturers.
Essentially, you can use any of the above three techniques to sterilize canning jars for your canning process. Moreover, following these recommended guides will help you achieve the best results when canning your favorite fruits and vegetables.
To continue your home food preserving and for more tips and ideas for the best home preserving equipment, we have many more articles on our site.


 Hi! I’m Sally-Anne!
Your way of explaining all in this article is really nice, every one can effortlessly know it, Thanks a lot.
Hey are using WordPress for your blog platform? I’m new to the blog
world but I’m trying to get started and set up my own. Do
you require any coding expertise to make your own blog?
Any help would be really appreciated!
Yes, the site is built on WordPress with no coding experience.
I do not even know the way I finished up here, but I thought this put up was once great.
I do not know who you might be however definitely you’re going to a
famous blogger in case you aren’t already. Cheers!
Very energetic post, I loved that a lot. Will there be a part 2?
Greetings, There’s no doubt that your website may be having internet browser compatibility issues.
When I take a look at your web site in Safari, it looks fine however, when opening in I.E., it’s got
some overlapping issues. I simply wanted to provide you with a quick
heads up! Besides that, fantastic website!
Thanks Mai, we will look into this.
Whats Happening i’m new to this, I stumbled upon this I’ve discovered It absolutely helpful and it has aided me out loads. I am hoping to contribute & help other users like its helped me. Good job.