Quick Content Navigation
How Do I Start Canning At Home?
Have you ever worried about wasting food and then thought about ways to reduce that food waste. Have you wanted to start canning at home?
We have compiled a comprehensive list of everything you need to know about home canning.
Home canning is certainly making a comeback and is no longer seen as an outdated technique and something that just homesteaders do. As the awareness of its benefits grow, more people have taken to preserving food in their homes and canning is an easy way to do this.
By canning at home you will:
- Minimize wastage of excess food and produce.
- Save money.
- Preserve and stock up on your favorite treats.
- Eat nutritious, healthy food that does not have chemical preservatives and additives.
If you are new to canning then you’re at the right place. We’ve listed the ABC’s of home canning to guide you through your first canning process.
What Is Home Canning?
Canning at home preserves food by destroying microbes and preventing enzyme activity.
Through a combined process of heating and sealing, canning effectively slows the process of food spoilage.
How Does Canning Work?
In canning:
- Food is packed into special canning or mason jars.
- The jars are heated at high temperatures to destroy microbes.
- As the jars cool down, a vacuum is formed and the contents are sealed within.
- The contents remain preserved until the seal is broken.
Are There Different Ways Of Canning At Home?
There are two types of canning at home:
Water bath canning:
Ideal for preserving high acidic foods such as fruit, salsa, jam, jellies, and pickled vegetables.
In this technique, the mason jars are placed into a water bath and heated to a particular temperature for a desired period of time.
This is the preferred method of home canning as you don’t need specialized equipment.
Pressure canning:
Root vegetables, legumes, poultry, meat, and seafood. Any food with low acidic content is best preserved using the pressure canning technique.
Food is sealed within glass jars and high temperatures and pressure are used to kill microbes.
Any Foods You Should Avoid Canning?
We have given you a fair list of food types suitable for canning in the methods above. But, did you know you can even preserve chili, herbs, and soups when canning at home?
Foods that don’t preserve well using this method include bread and dairy products.
Food Preserved By Home Canning Lasts How Long?
Officially, canned foods last for a year. Let’s explain that a little more.
With home canning you can expect a shelf life of around 12 months. It really does depend on the type of food that you are preserving.
Low acid food will generally last longer than high acid foods. Remember, this will all depend on the fact that you have done your canning at home properly.
Sometimes, food can change color after as little as 6 months. It is still safe to consume as long as the jars are sealed tightly.
On the other hand, do not eat from jars that have any mold growing in them. Mold requires oxygen to grow and this means that the seal is weak and your food has spoiled.
Remember to store your cans in a cool and dark place as this will help to maximize shelf life.
Is Special Equipment Needed For Canning At Home?
Whether you are buying your own equipment or borrowing from others there are some tools required for home canning.
This list will vary slightly depending on the method of canning you are intending to try out.
Our Suggested Equipment To Preserve Food By Canning At Home
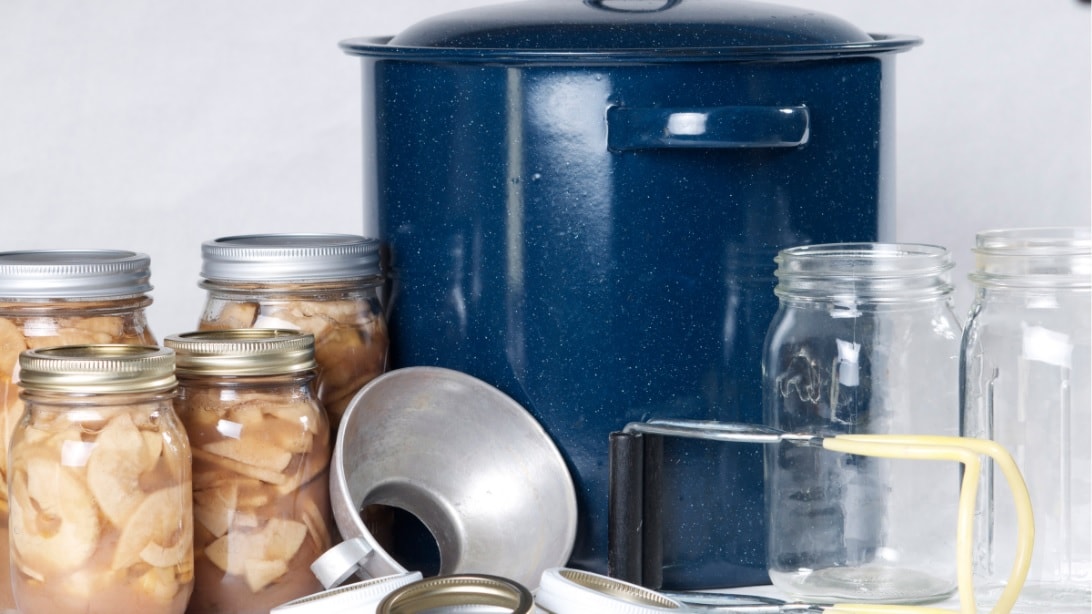
- Mason jars. These are readily available in all department stores. You can also use second-hand jars provided they are in good condition. Avoid using jars that are broken or have damaged rings. An aside here is that you can use any glass jar that has a metal lid as long as it seals properly.
- Canning rack. Goes inside the pot to prevent the glass jars from touching the bottom of your pot. If this occurs there is the potential for the glass to break from the jiggling of the boiling water. The last thing you want when home canning is to have all your hard work ruined by breaking glass!
- Lids and seals. You may have to purchase lids each time you want to re-use your jars. Over time these may get dented and not seal properly when used a second time. Seals and screw bands can be reused but check them before using. Make sure that your lids and bands are clean, free from rust, and unbent for proper sealing.
- Pots. Large and medium-sized pots for sterilizing the jars, lids, and tools.
- Canning tools. These include prep towels, measuring cups, ladles, spoons, and tongs. Another great tool is a jar lifter to safely lift the jars out of the bath when they are very hot. Also essential is a wide-mouth funnel for pouring hot liquids into the jars without spilling.
If using the water bath technique you will require a large stockpot or water bath canner with an in-built canning rack.
With trying the pressure canning at-home method you will need a specialized pressure canner.
Start Your Home Canning Process
Once you have all your equipment and the food to be preserved lined up you are ready to go.
Food Preparation
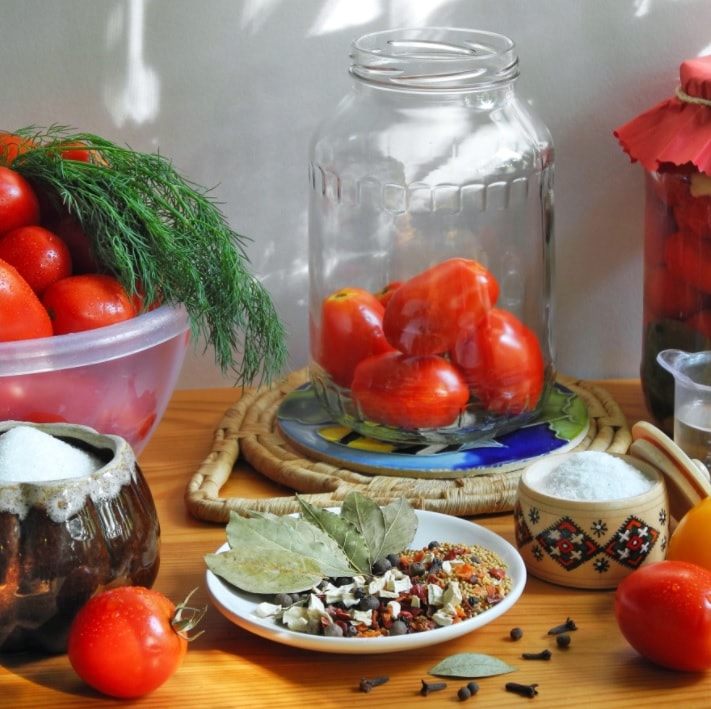
Clean and prepare the produce as soon as possible after picking or buying. When looking for canning recipes to follow try ones that are approved by the USDA and National Center for Home Food Preservation.
If you are new to the process it’s best not to get creative and tweak recipes for home canning. After all, preserving food safety should be your utmost priority.
Clean and Sanitize Your Tools
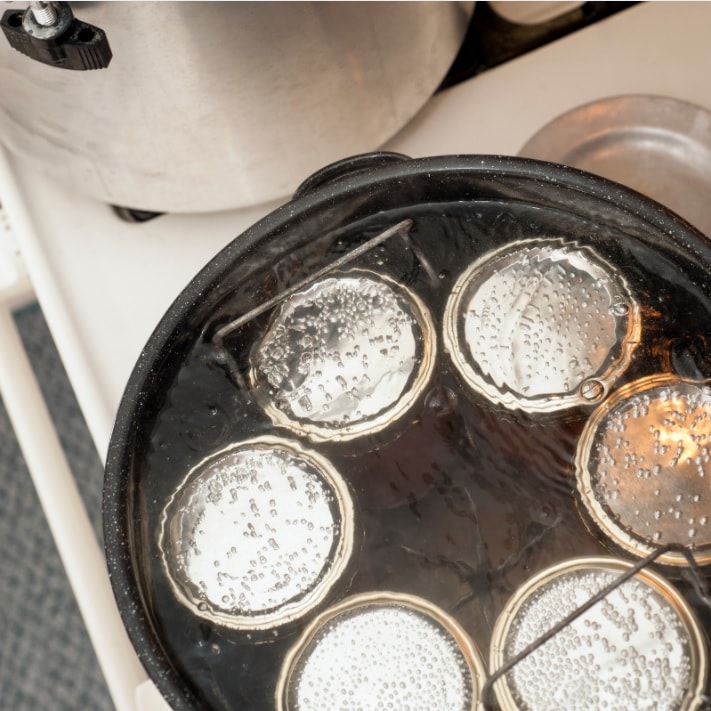
Fill a medium to a large-sized pot with water and bring it to a boil. Wash and sterilize your jars, lids, and bands, by placing them in the boiling water for at least 10 minutes.
Pack The Food
Once the jars are sterilized you can pack the prepared food into them. Use a ladle and a wide-mouthed funnel when canning at home to prevent any food spills.
While packing the jars, remember to leave a headspace at the top of an inch or more. This will help with proper heating and sealing of the jar and ensure no spillage.
Before closing and sealing, make sure to clear all the air bubbles within the jar with a skewer or spatula. The presence of any air will allow microbial growth of food in the jar and cause it to spoil.
Using a damp paper towel clean the edges of the mason jar of any food material.
Screw the lids and bands on tightly. Make sure they are not too tight as there should be space for the air to escape when the jars are being heated.
With water bath canning:
- Pour water into the canner until about three inches from the rim. Place the rack on the bottom of the pot and allow it to heat the water until boils.
- Slowly and evenly arrange the mason jars on the rack around the pot. The lid of each should be at least an inch underwater so add extra water if required.
- Boil it for the time given in your canning recipe which will be anywhere from 20 to 40 minutes.
In the case of using the pressure canning method, place the jars within the specialized pressure canner as stipulated. Set the cooking time and temperature as required for your own home canning experience.
Cool Down
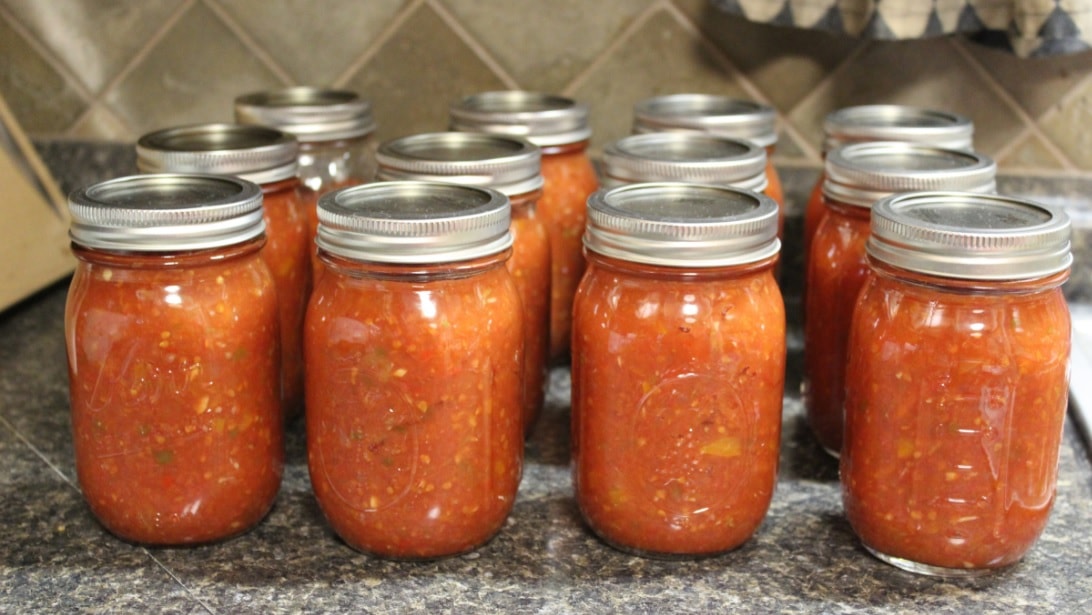
Using the jar lifter slowly and carefully take the mason jars from your pot or pressure canner. Place them on your counter and allow them to cool for at least 12-24 hours.
For successful canning at home try not to shake the contents during this time. And definitely do not unscrew the bands and lids as the jars rest as this will break the seal.
As the cooling process happens you should hear popping sounds and this indicates that the seal has formed correctly.
Check
To check whether the lids have sealed properly push down on the middle of the lid. If the lid pops up and down it means the seal has not formed correctly.
Another way to test for proper sealing when home canning is to do the lift test.
Unscrew the band and try to lift the lid up using your fingers only. If the lid doesn’t open it means the seal has been successful.
And that’s it, you’ve successfully navigated your canning at home experience!
Six Things To Remember When Canning At Home
- The time taken for canning depends on the food type and the equipment used. Make sure you read through all instructions before starting so you know what you need to do.
- Follow all instructions when using a pressure canning system. There is always a risk of botulism poisoning with this technique so it’s important that you perform it correctly.
- Always use fresh produce. Avoid using anything that is bruised or overripe. The disintegration process has already begun and will reduce shelf life of any product.
- Don’t forget to leave the appropriate head space in your jar.
- Wait to hear the popping sounds from your jar and check to confirm the jars have been sealed correctly.
- Label your canned jars with the date of production and note the date of opening.
Conclusion
Home canning can be your first step towards living healthy and self-sufficient lives. Use these easy steps to guide you and your family will soon be competent in canning food at home.
Best of all you will be enjoying your delicious produce all year round and saving a ton of money and waste.
Imagine being the envy of your friends for not only what you are eating but how much money you have in the bank!!
To read more about the methods of preserving food at home download our E-Book.
 Hi! I’m Sally-Anne!
This website is my inspiration , really good design and style and perfect written content.